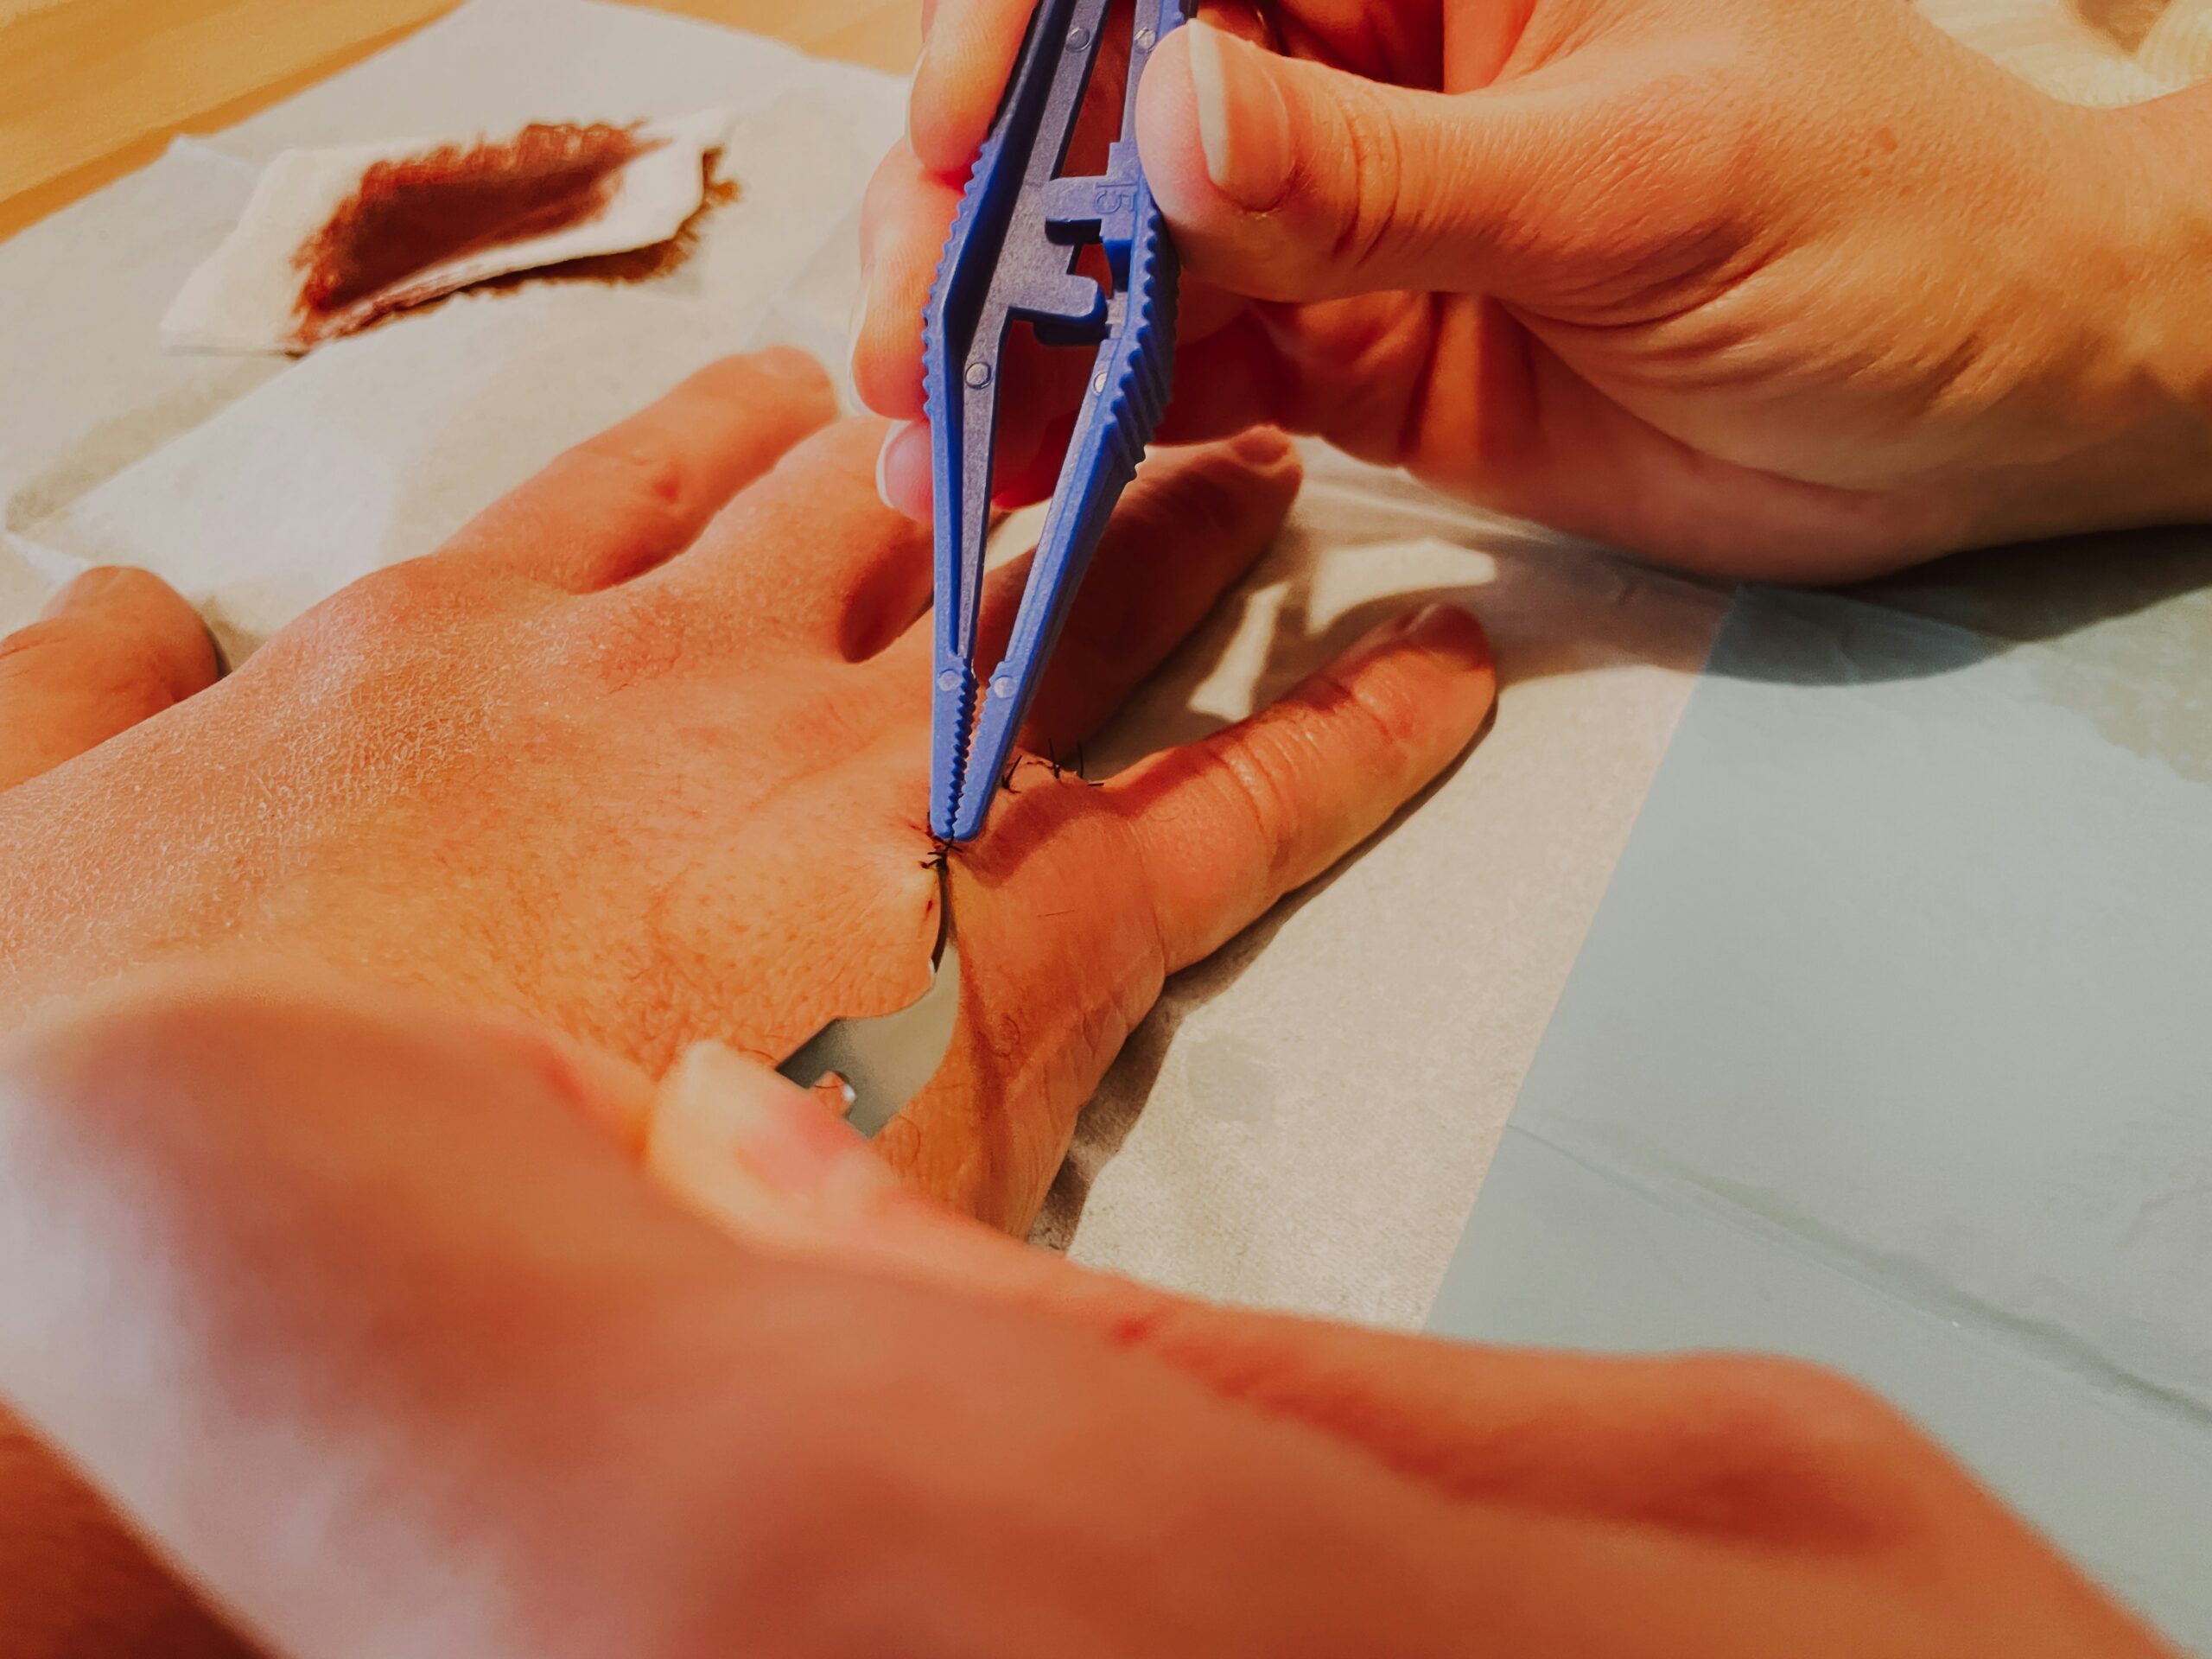
A splinter can be tiny, but removing one becomes surprisingly difficult when you do not have tweezers available. If you are wondering how to get a splinter out without tweezers, the first priority should be keeping the area clean and avoiding techniques that push the foreign object deeper into the skin. A small splinter that is close to the surface can sometimes be removed with another clean, suitable tool, while a deeply embedded or difficult-to-see splinter may be better handled by a healthcare professional.
When a splinter is completely hidden, you’ll also need a sterile needle, after washing the skin as suggested by the American Academy of Dermatology. On MedlinePlus, for example, instructions on how to remove deeply embedded splinters mention using a sterile pin or needle to expose the splinter. It’s the difference between gently digging a splinter out from under the surface of the skin or excavating the skin until you unearth a hidden splinter — causing damage and making removal even tougher.
What Makes a Splinter Difficult to Remove?
A splinter is considered an inert material lodged in the skin, making foreign body removal from skin an important consideration when the object is deeply embedded. Common substances are wood, vegetation, metal, glass, and fiberglass. The ease of its extraction depends on several factors including where it is, how deep it is, how long it is and what it’s made out of.
It’s easier when one of the splinters’ extremities is projecting above the skin level since there is some material to grab.
When the whole substance is deep inside the skin, snaps in two pieces during retrieval or when it entered at an angle. However, the key factor is visibility. If you don’t know where and the angle of intrusion of the splinter, blindly rummaging into skin can injure you further than the original splinter. MedlinePlus recommends that a foreign body can be gripped if it’s visible to the naked eye and Mayo Clinic says when an object is difficult to see, you should seek medical attention immediately until it becomes apparent, and not removed.
This is why the simplest extraction procedure isn’t based on finding fancy trick but first assessing the splinter.
How to Get a Splinter Out Without Tweezers
If the splinter is small, superficial, and clearly visible, you may be able to remove it without conventional tweezers. However, not every method found online is equally appropriate. Some popular suggestions can irritate the skin without reliably removing the foreign object.
1. Wash and inspect the area first
Wash your hands and the wounded skin carefully with water and soap. Pat dry instead of rubbing.
Proper lighting plays an important role; for a tiny splinter a magnifying glass may reveal the direction of the spliter and if it is grasp-able. A dermatologist recommend closely examining small spliter prior to any removal attempt.
Never start by squeezing adjacent skin: compression may break down the splinter and push it deeper into the skin.
At this stage, ask three basic questions:
- Can I clearly see the splinter?
- Is part of it close enough to the surface to reach safely?
- Can I remove it without repeatedly puncturing the surrounding skin?
If the answer to these questions is no, home removal becomes less appropriate.
2. Use a sterilized needle for a fully embedded splinter
When you’re close enough to see a tiny sliver of splinter under the skin, but don’t have access to the end, a sterilized needle can sometimes encourage it to surface. It’s one of the very few non-tweezers removal methods that have solid, reliable first aid advice behind them. The American Academy of Dermatology explains how you cansterilize a small needleand gently lift the edges of skin at one end of the embedded splinter without poking or prodding into the deeper layers.
Don’t dig!
The idea is to tease away enough skin to get to an exposed end. MedlinePlus similarly suggests that you can gently lift the skin overlying a buried splinter with a sterilized pin or needle and “lever up” the splinter by its end. If you try this, remember cleanliness! A dirty needle injects even more bacteria into injured skin.
Abort the procedure if you can’t find what you’re doing, or if the process becomes painful.
Don’t use the needle as a probe to go blind under your skin.
3. Try a clean fingernail only when the splinter is already exposed
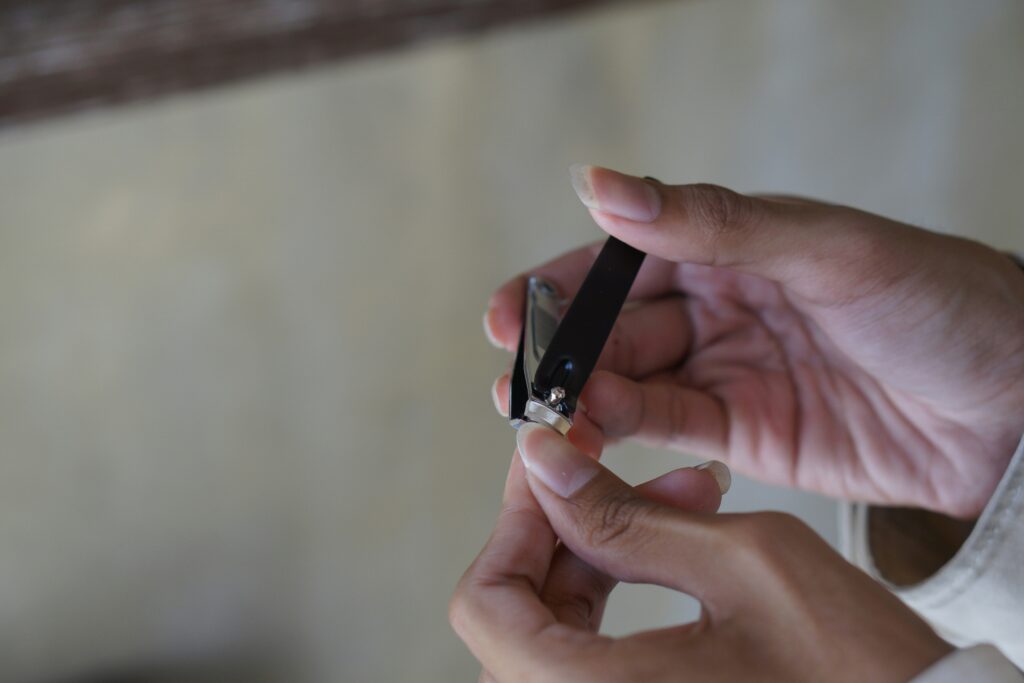
If the splinter has enough to pull on you may be able to occasionally use a clean fingernail to lever or tease it out. This is really only to be attempted with a very superficial splinter as one embedded under the skin should not be teased out with a finger nail. Before attempting:wash hands and the effected area.
If there is an exposed portion, it may be possible to coax it out by pulling against the direction it entered.
The catch here is control. Finger nails lack the fine touch of well sterilized tool. Don’t prod and probe repeatedly around the area, or press harder and harder on something very firmly embedded in tissue. The aim is to get the foreign body out, not just squeeze the area until something happens to pop it or a portion of it.
4. Use a clean, narrow-edged object only if it can lift the exposed end
In cases of very shallow splinters where there is a clear protruding end, using a clean, rigid edge to lever up the sharp edge can sometimes free the splinter. However, scraping or inserting an object under the skin to do this is not suitable. I’m making this distinction because many house objects can be tricky to sterilize thoroughly, and what appears like a ‘safe’ method becomes complicated if it leads to re-introducing broken skin.
If the splinter resists, and moves little or not at all when you apply firm, gentle pressure, then stop there.
Standard medical advice is to perform removal of a visible foreign body in a more considered way rather than manipulating it repeatedly.
5. Soak the area in warm water before attempting removal
Soak (optional) Softening the surrounding skin A brief soak in warm, clean water may make the skin around a splinter softer and easier to assess; it is particularly helpful in cases of splinter embedded in a part of skin with significant thickness. Note that soaking the skin before splinter removal is meant to facilitate it, not to extract the splinter as a primary method. It makes sense to abandon further soaking if the splinter is stubbornly still there.
Inspect the skin After cleaning and examining the skin for removal, you may need to make a judgement if the splinter became more visible.
If not, a good guess will tell you that you cannot remove the splinter further at home, with little to no benefit if continued manipolulating it.
6. Ask someone to help you see the splinter clearly
Many times, visibility is more of an issue than the splinter itself. Some sites of splinters – like a finger pad or hand – can be tricky to look down and pick it out at the same time. With a helper, you could have help in the way of extra lighting, a magnifying glass, or just someone who can steady a closer view.
This can even apply when a sterilized needle would be involved to coax out a splinter embedded in.
The American Academy of Dermatology states that you might need help of others in removing an embedded splinter. Improved visibility reduces the poking around with a needle because then you’d go by what you see instead of guess.
7. Consider leaving a tiny superficial splinter alone temporarily
It’s not always advisable to be hyperaggressive right away with every splinter. If a minuscule particle in the body is difficult to reach with your fingers, and digging after it may cause more damage than leaving it in is often the best plan.
This does not mean that all retained splinters can just be ignored. The decision of when, or if, to go after a splinter will be based on the material of the object, how deep it lies beneath the skin, where it is positioned and your associated symptoms, or if signs of infection are developing.
It makes sense to take pain, and deeply embedded slivers of foreign bodies to a doctor instead of repeatedly trying to extract it at home. According to Mayo Clinic, “Most foreign bodies that are very painful to touch or are deep below the skin”.
What Should You Do After Removing the Splinter?
Cleaning up the wound is the next step, once the splinter has been removed. Clean the small opening by: Using soap and water to wash the small wound, then softly dry. After removing the splinter, apply a dab of petroleum jelly, then cover with a bandage; keep covered till it heals, per the American Academy of Dermatology.
Protect and keep covered, without touching, unless it is anticipated it will be exposed to dirt and contamination.
MedlinePlus recommends washing with soap and water following removal, and covering when likely to get contaminated.
What Not to Do When Removing a Splinter
Some of the most common splinter-removal mistakes involve doing too much rather than too little.
Don’t squeeze the skin aggressively
The American Academy of Dermatology specifically warns against squeezing a splinter because it can cause the object to break into smaller pieces, making removal more difficult.
Don’t dig blindly
If you cannot see the splinter, probing the skin with a needle, pin, knife, or other object can enlarge the wound without necessarily locating the foreign body.
Don’t use dirty household tools
Any object that enters or breaks the skin should be appropriately clean. A visibly clean item is not necessarily sterile.
Don’t keep trying after repeated failed attempts
Repeated unsuccessful attempts increase manipulation of the tissue. If the splinter will not come out easily, particularly when it is deep or difficult to see, professional removal is safer.
Don’t ignore signs of infection
Increasing redness, swelling, warmth, pain, or pus can indicate signs of an infected wound that require medical evaluation. MedlinePlus specifically recommends seeking care when inflammation or pus develops.
Which Splinter Removal Methods Are Actually Reasonable?
It helps to separate practical first-aid techniques from popular internet remedies.
| Approach | Best suited for | Main limitation |
| Clean fingernail | Very superficial exposed edge | Poor precision |
| Warm-water soak | Softening and inspecting skin | Does not reliably remove deep splinters |
| Sterilized needle | Small, visible embedded splinter | Requires care and good visibility |
| Magnifying glass | Improving visibility | Does not remove the splinter itself |
| Professional removal | Deep, painful, difficult, or retained splinters | Requires medical care |
The most reliable evidence-based approach is not a single household trick. It is a sequence: clean the skin, identify the splinter, use the least invasive appropriate technique, and stop when safe removal is no longer straightforward.
When Should You See a Doctor for a Splinter?
When It’s Time to See a Professional 4 Ways To Easily Remove A Splinter Your Doctor May Offer Medical Treatment In a few specific instances – most of them related to difficulties with removal – visiting the doctor for the splinter should be considered. Consult a doctor if your splinter: Is very deeply embedded or excruciatingly painful Difficult to see Very near to or within the eye Breaks off several times throughout your removal attempts According to both the American Academy of Dermatology and the Mayo Clinic, a foreign body that is too difficult to extract or that is very deep is a valid reason to make a trip to the doctor. Sometimes the location dictates a medical consultation.
Splinter right in the eye- probably not best for DIY methods; anything involving an eye should involve more care.
Medical help can be sought when you believe a portion of the splinter is still stuck under the skin. Any residual piece can be very irritating and challenging to find on your own.
Watch for Signs of Infection
A normally healing wound may be slightly sensitive for a little bit of time. What’s important is which direction the tender feelings or other signs are heading. Increased redness, swelling, warmth or pain (plus drainage, too) shouldn’t be ignored, especially if those symptoms are escalating.
You’d want to see the doctor if there’s any swelling or pus around a splinter, says MedlinePlus.
When the wound is deeper or very dirty, you also might want to check your tetanus vaccine status and review basic wound care tips for proper aftercare. That doesn’t mean you need a tetanus shot every time you find a sliver.
Why Removing a Splinter Carefully Matters
A splinter doesn’t just need to be removed to make the visible bit disappear; its surrounding tissue needs looking after as well. A splinter is a nick in the skin. More punctures and digging and squeezing makes that nick bigger.
When it gets to being swollen and bloody it becomes much harder to see what you’re dealing with anymore.
You end up creating something like this: splinter difficult to see -> more prodding -> skin increasingly irritated -> splinter even harder to see. A managed approach can avoid getting caught in that cycle. Wash, improve access, use a sensible removal technique and then give up before it gets beyond what can be safely removed at home.
Special Considerations for Wood, Glass, and Metal Splinters
The material can influence the situation.
Wood splinters are often irregular and can break if squeezed or pulled incorrectly. A remaining fragment may continue irritating the skin.
Glass fragments can be particularly difficult to see, especially when they are transparent. Mayo Clinic specifically lists objects that are hard to see, such as clear glass, as a reason to seek medical help.
Metal fragments can sometimes be easier to identify visually, but their depth and the nature of the injury still matter. A puncture caused by metal may also raise questions about wound contamination and tetanus protection.
The safest technique therefore depends on more than the size of the splinter.
How Long Does a Splinter Take to Heal?
When a minor puncture has been successfully removed, all you will typically need is simple wound care to let your skin heal. A clean dry protected wound will cause little additional irritation. Persistent pain does not automatically indicate a slow healing wound.
The level of discomfort if increasing rather then decreasing and if swelling and oozing appear, you should consider whether or not a remaining fragment or an infection exists.
What is significant is not how many days it has been, but if the healing of the wound is continuing toward resolution.
FAQs
1.Is there a painless way to remove a splinter without tweezers?
There is no method guaranteed to be painless. Cleaning the area, improving visibility, and using a gentle technique can minimize unnecessary discomfort. If removal becomes painful or difficult, stop rather than forcing it.
2.Can tape remove a splinter?
Tape may occasionally catch a very superficial fragment, but it is not a reliable method for an embedded splinter. It should not replace proper cleaning and controlled removal.
3.Can baking soda remove a splinter?
Baking soda is often promoted as a home remedy, but it should not be treated as a proven substitute for established splinter-removal techniques. For a buried splinter, visibility and careful removal are more important than applying household powders.
4.How do you know if the entire splinter came out?
Inspect the area under good lighting or magnification and consider the original length and direction of the splinter. Continued focal pain or inflammation can suggest that a fragment remains, although these symptoms can have other causes.
5.Should you put hydrogen peroxide on a splinter wound?
General routine wound care involves cleansing with soap and water over the repeated application of some nasty antiseptic. They recommend applying petroleum jelly and a band-aid after removal, according to the American Academy of Dermatology.
6.Can a splinter cause an infection?
Yes. A splinter breaks the skin and can introduce or trap contaminants. Increasing redness, swelling, pain, warmth, or pus should prompt medical evaluation rather than further attempts at home removal.
Conclusion
Knowing How to Get a Splinter Out Without Tweezerscan be useful when you do not have the right tools available.For small, shallow splinters, things like adhesive tape or immersing the site of the wound in warm water are usually sufficient to remove it. If the splinter is completely immersed and embedded, or if it is particularly deep and difficult to extract yourself, your doctor should consider doing this for you. Make sure you Wash your hands first and clean the area where the splinter is located.
DO NOT dig, scrape or squeeze it intensely, and clean the wound after you have extracted it and bandage it.
It would be best to go to the doctor with the splinter if it is deep, it’s causing a lot of pain, it’s close to the eye, you can’t extract it yourself or the skin starts to feel increasingly red, swollen, hot, painful and with any kind of discharge and bleeding.